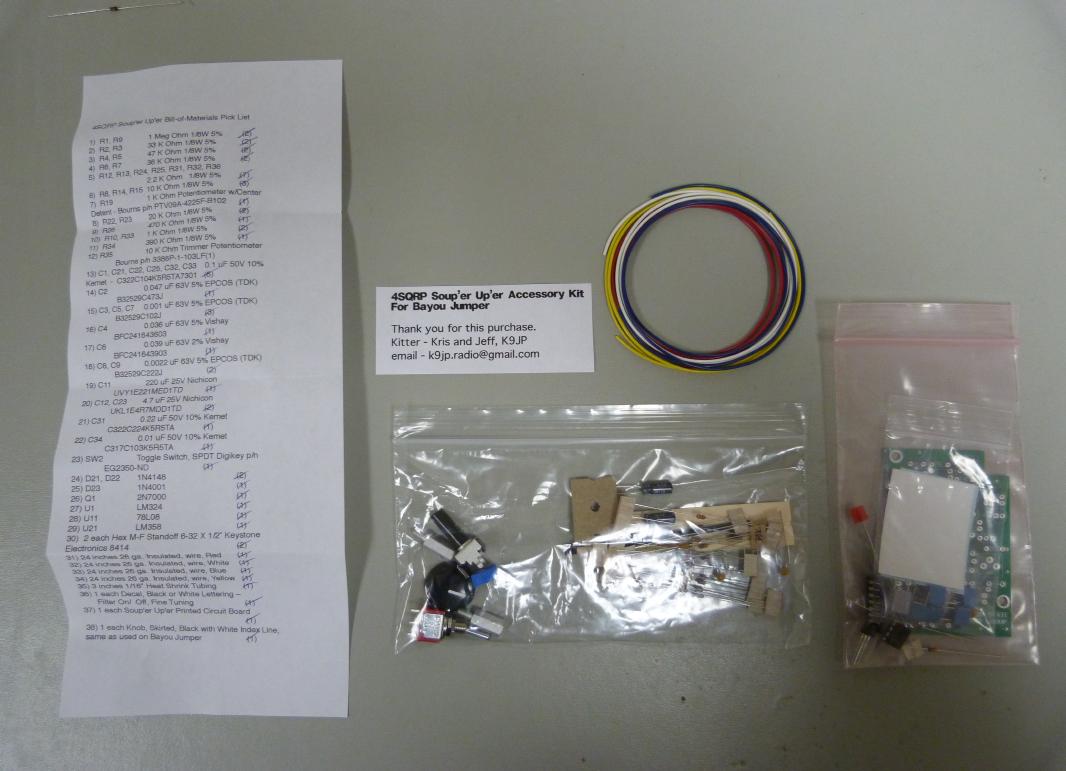
My Souper Upper purchase arrived first and is unboxed.
I greatly enjoyed building a Bayou Jumper, a regenerative (positive feedback) QRP 40m transceiver. The following photos show a few of the major steps from unboxing to finished transceiver. Topping it off was my first QSO with Joe W3GMS, who first told told me about the Bayou Jumper on the local repeater.
When calling CQ using the built-in straight key, I regularly see my call on the CW Club RBN Spotter page pop up at 7121.1 kHz. Even when I'm not getting replies to my CQ at least I know I'm getting out - and that my keying is legible! Please call if you hear me.
Construction is all through-hole, so it is a very easy build. The component requiring the most work is winding the single toroid.
The manual describes adjustment of toroid windings and a variable capacitor to move the receiver into the 40m band. If you have an oscilloscpe or access to a friend's, it makes the job a snap.
I bought the US $6 wood box at Hobby Lobby recommended in the manual. It does the job but quality is not tops. While hinges and clasp are metal, the handle is plastic. Be sure, if you choose to paint it, that you buy paint good for both metal and plastic. You might even prefer to buy a pricier but higher quality box.
To make decals, I use gimp but Photoshop will work as well. Both programs take a bit of time to learn, but it's well worth the effort. (I made my QSL cards with gimp. and here is another fun example of what gimp can do.) The Agent 86 and CONTROL logos were constructed from scratch using functions in gimp. The one exception is that I grabbed the globe off the web, then added text and circle around it.
After printing decals on water slide ink jet decal paper, give 2 or 3 light clear coats to protect the ink. Otherwise it will wash off in the water. If you use laser printer decals I think you don't have to clear coat them. Put knobs on for location reference and apply decals. After drying, clear coat and the panel is done!
My Souper Upper purchase arrived first and is unboxed.
Resistors soldered in place.
Capacitors added.
Semiconductors.

Bayou Jumper arrives!
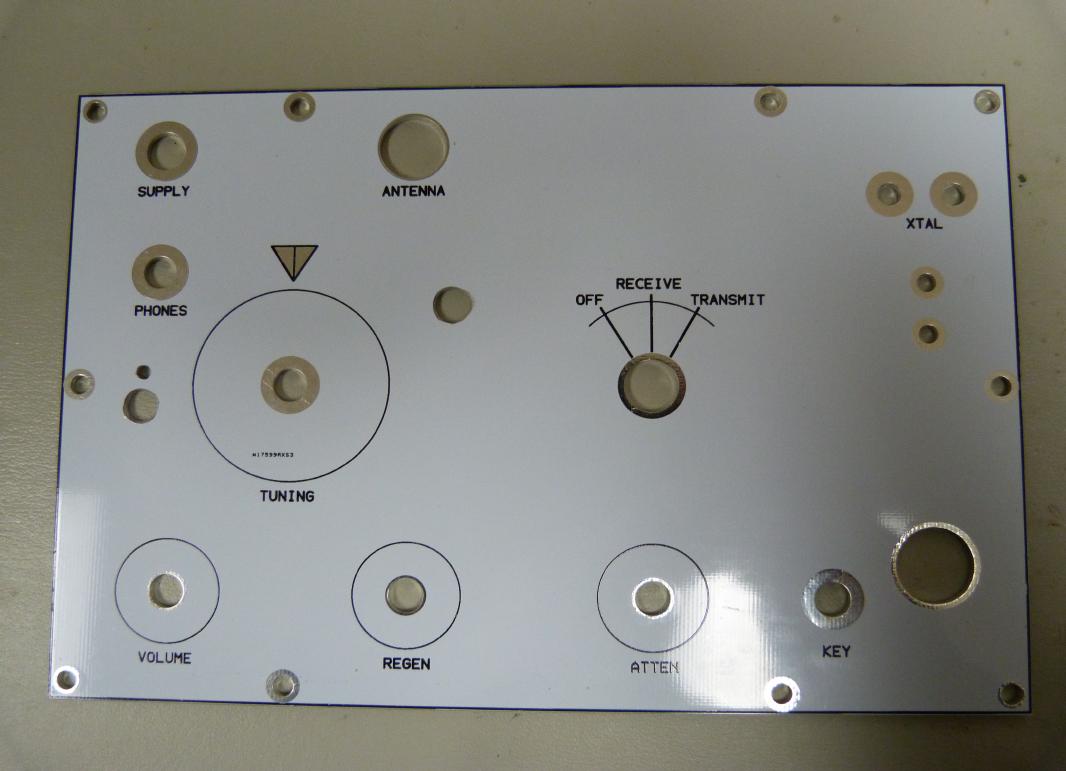
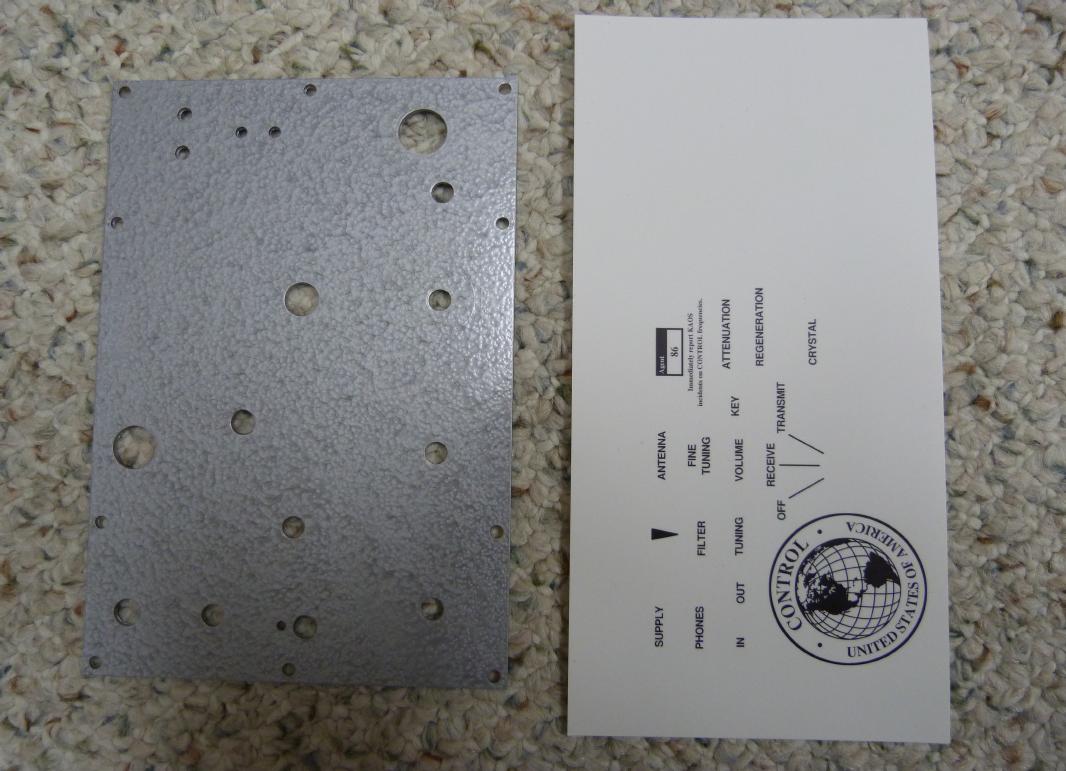
I received the final white front panel. Nice as it is, it didn't have
quite the look I wanted.
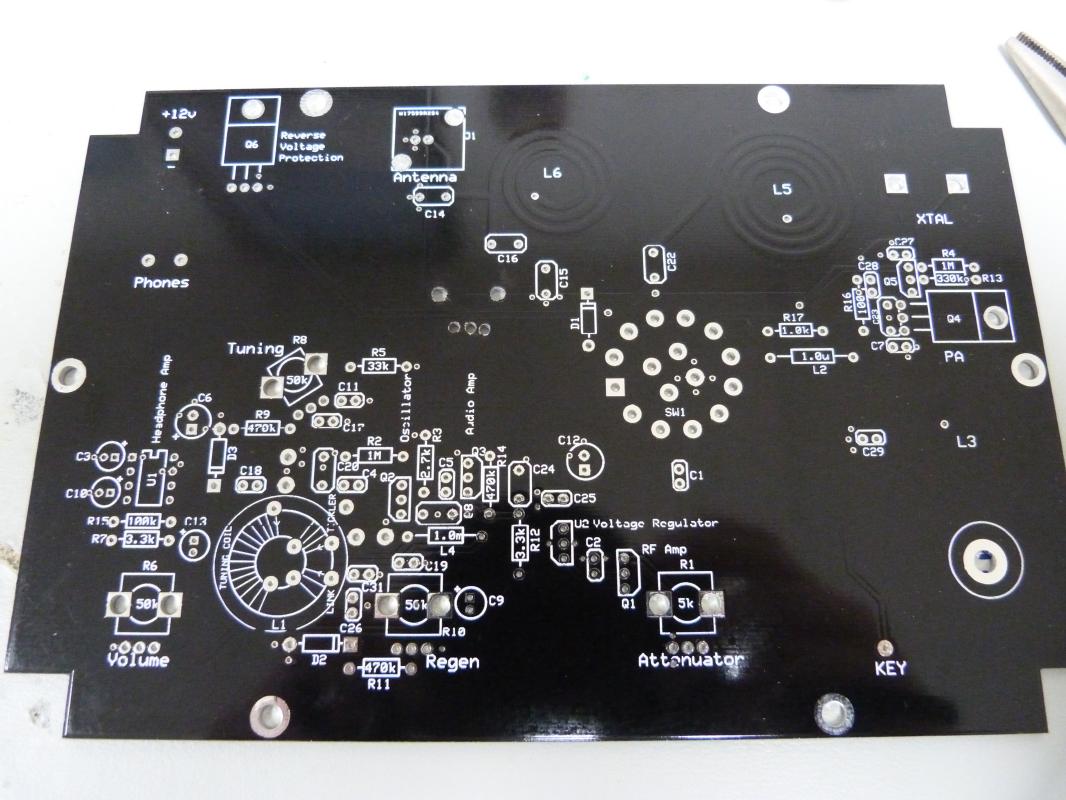
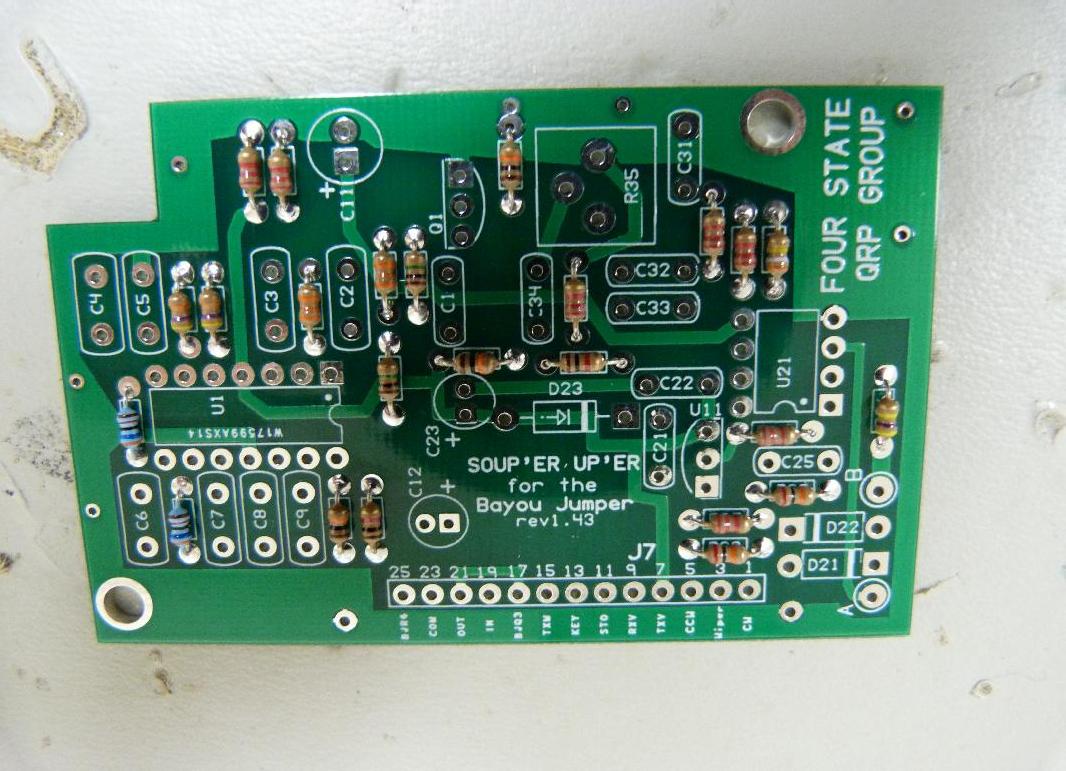
PCB ready for some solder! Note that holes have been drilled for
Souper Upper.
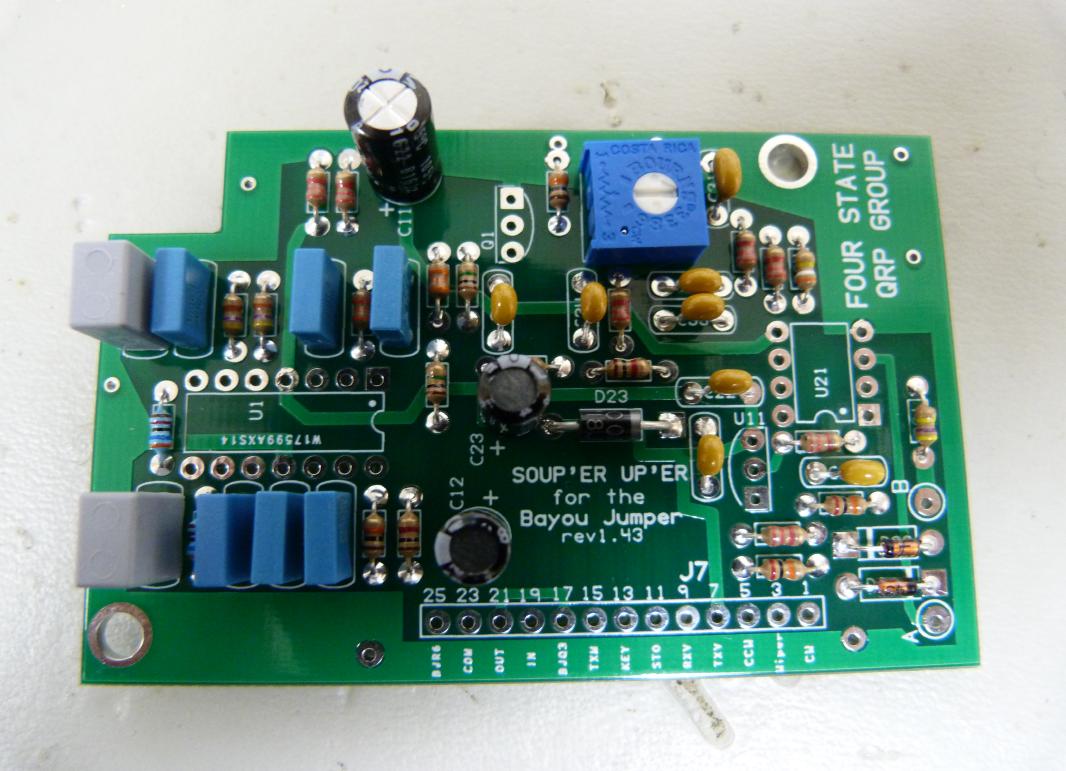
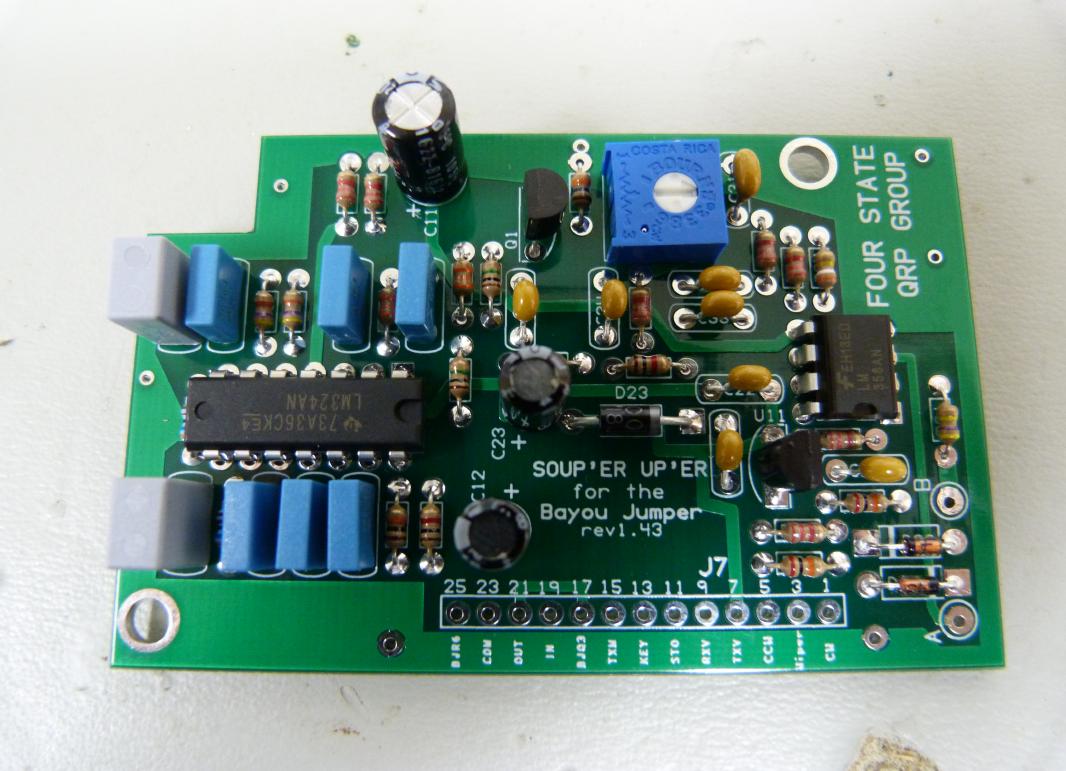
Populated!
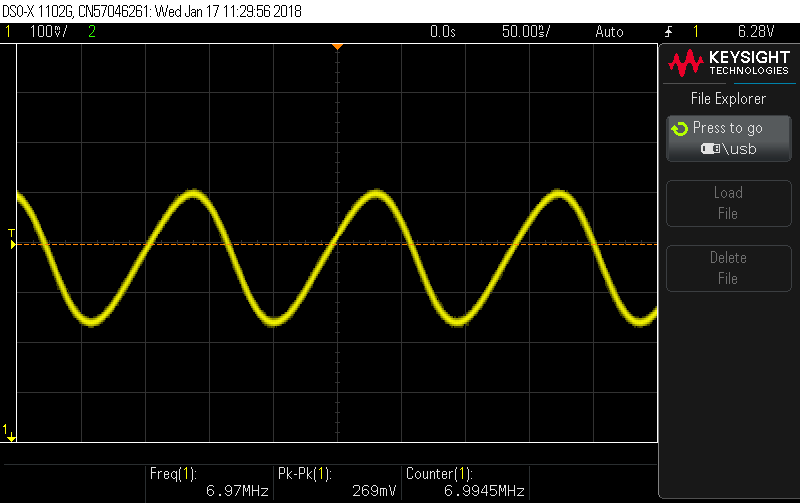
Adjust toroid windings and variable cap to set minimum band frequency.
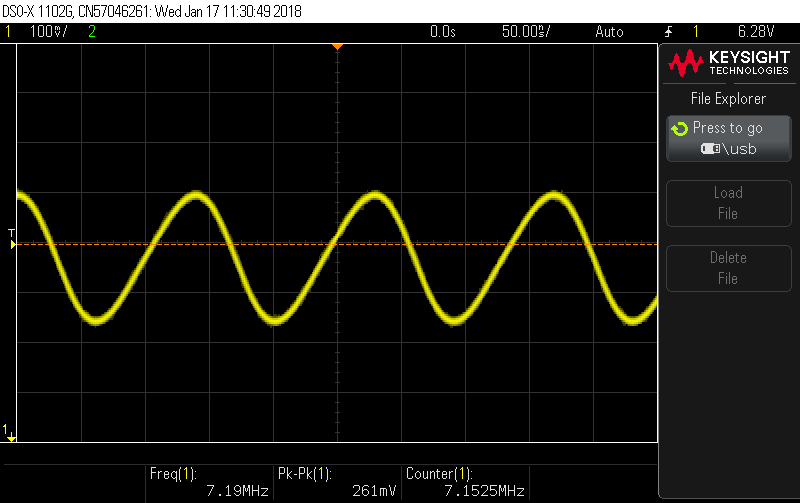
Maximum band frequency.
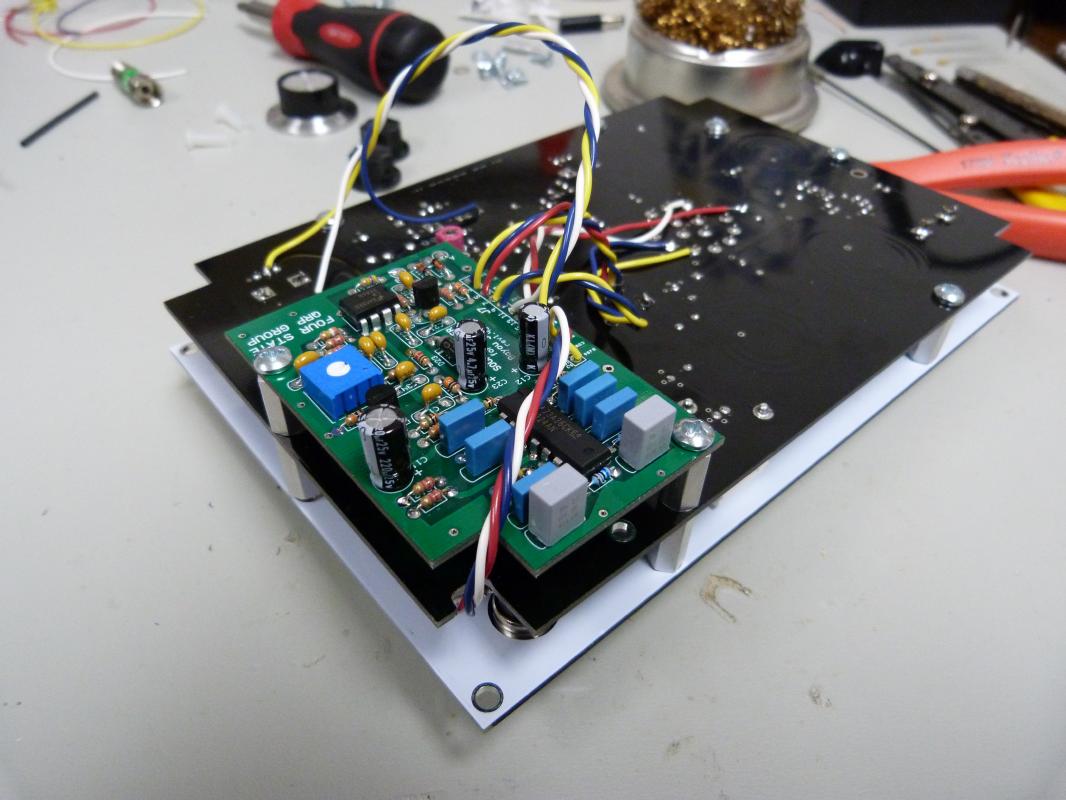
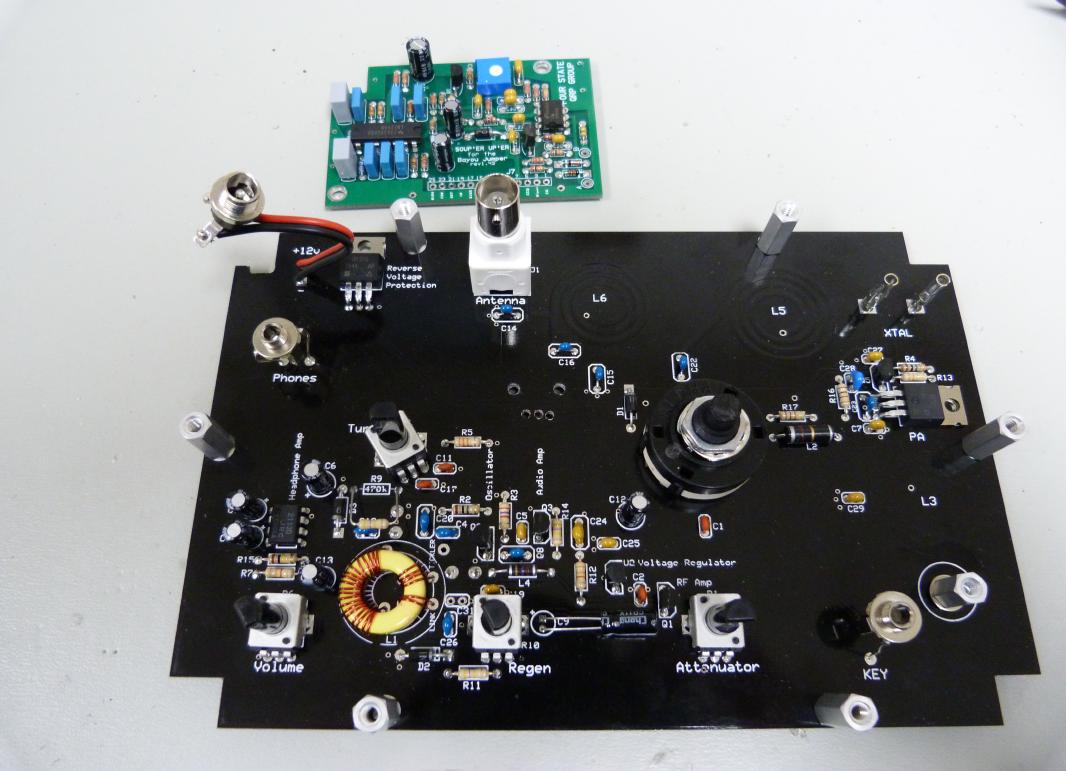
Souper Upper mounted beneath Bayou Jumper PCB.
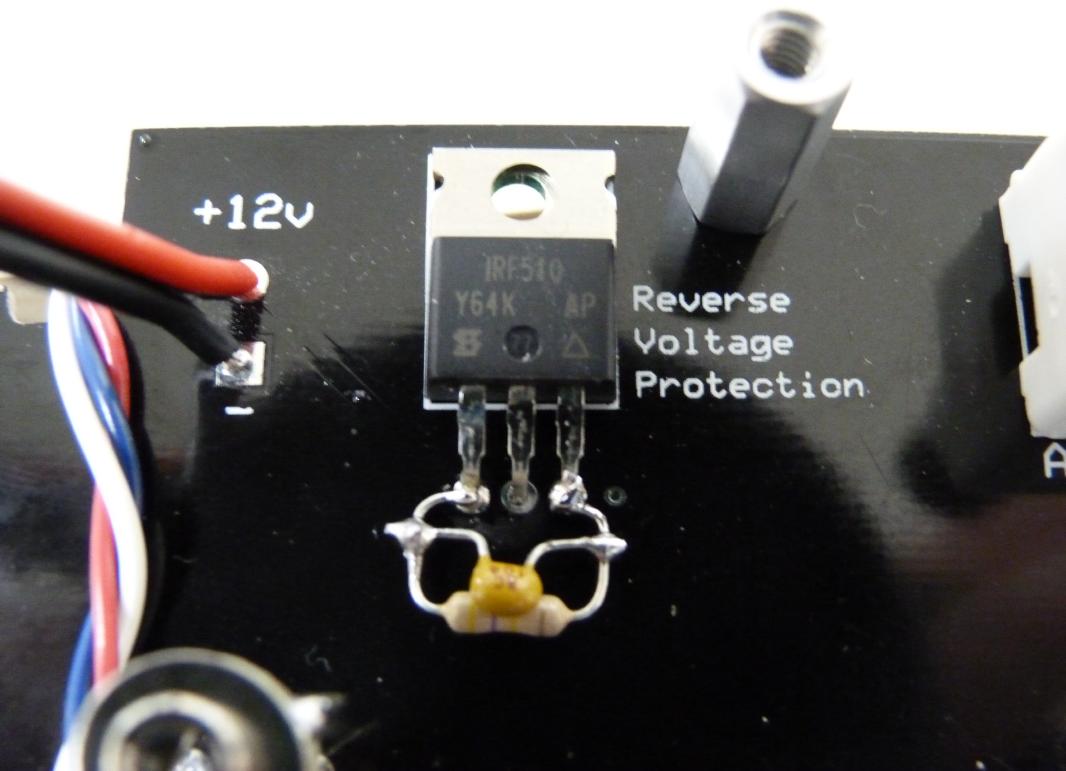
Q6 ESD protection added. This is part of the green panel kit but not the
white.
White front panel repainted, decals printed and clear coated.
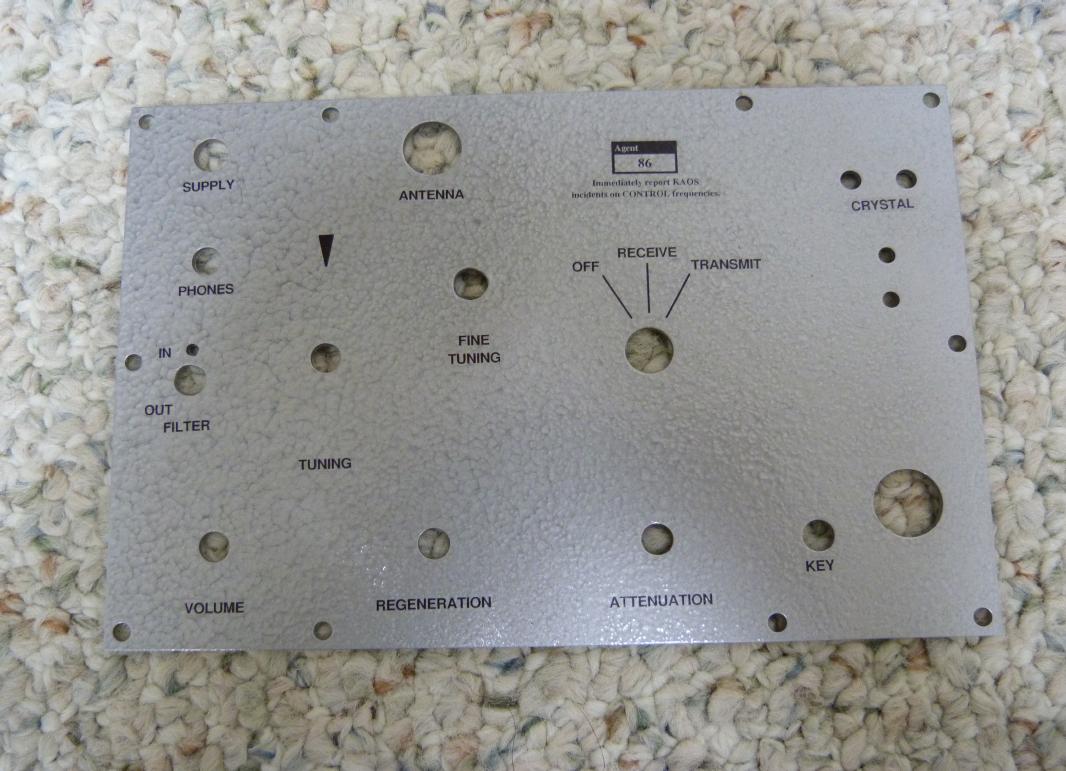
Decals in place and clear coated.
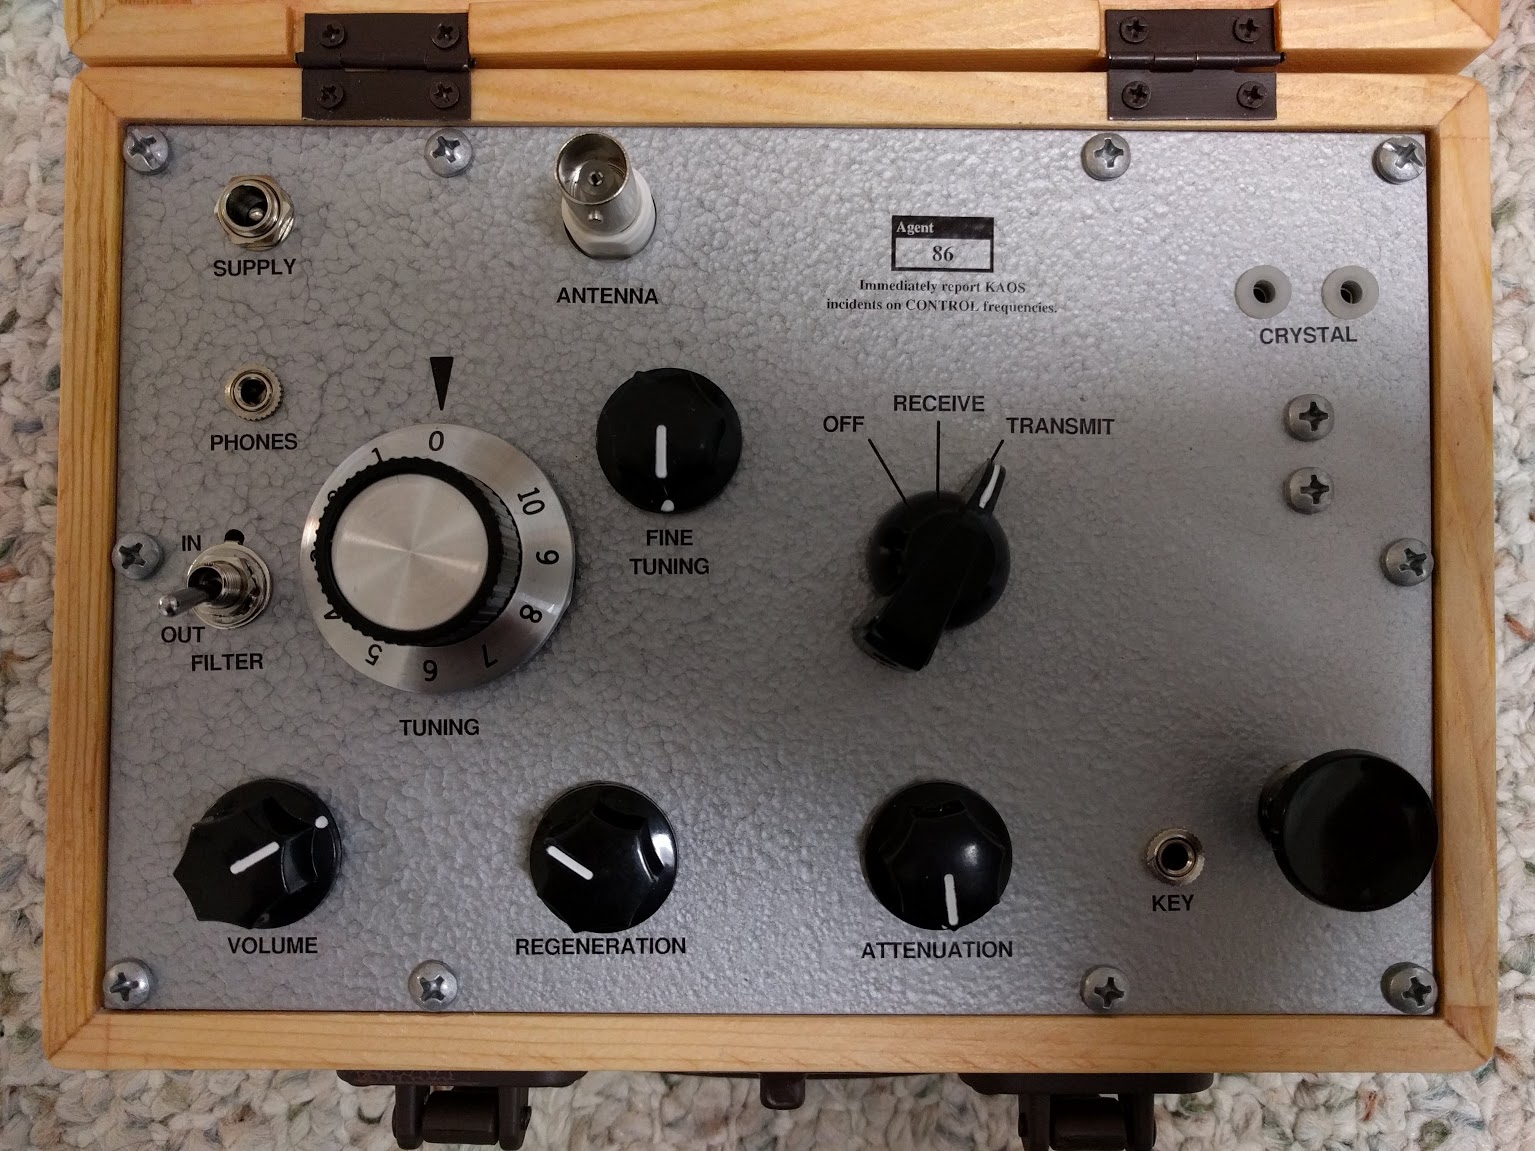
Radio assembled. :-)
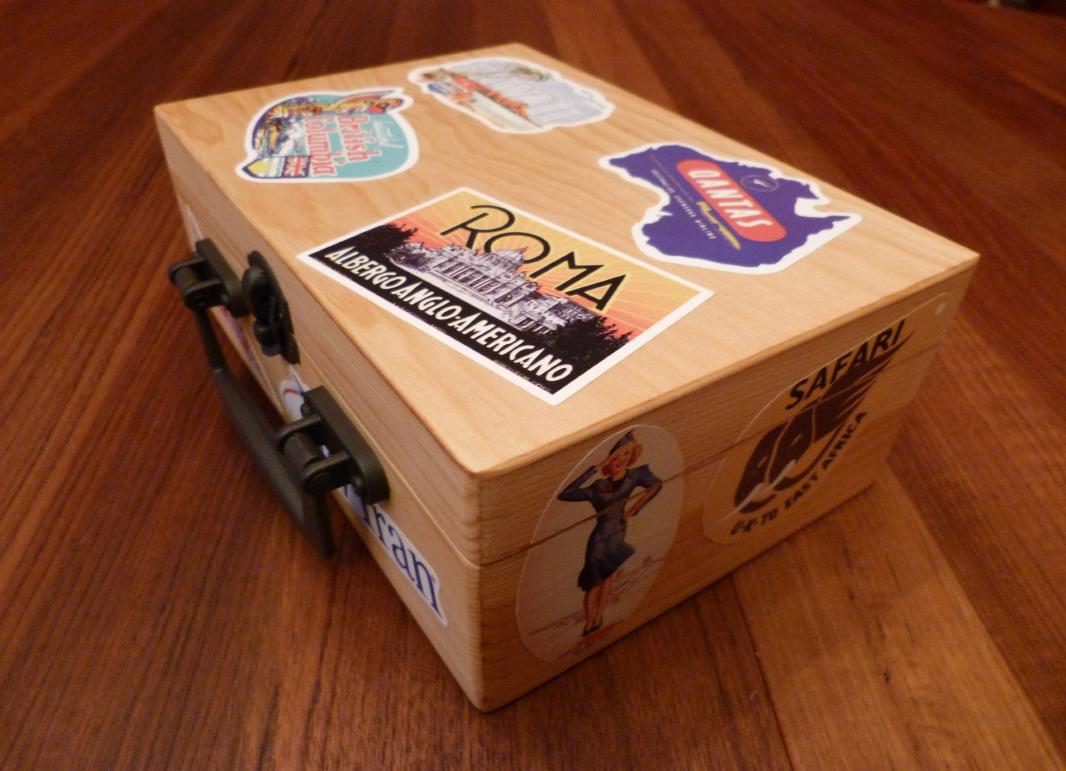
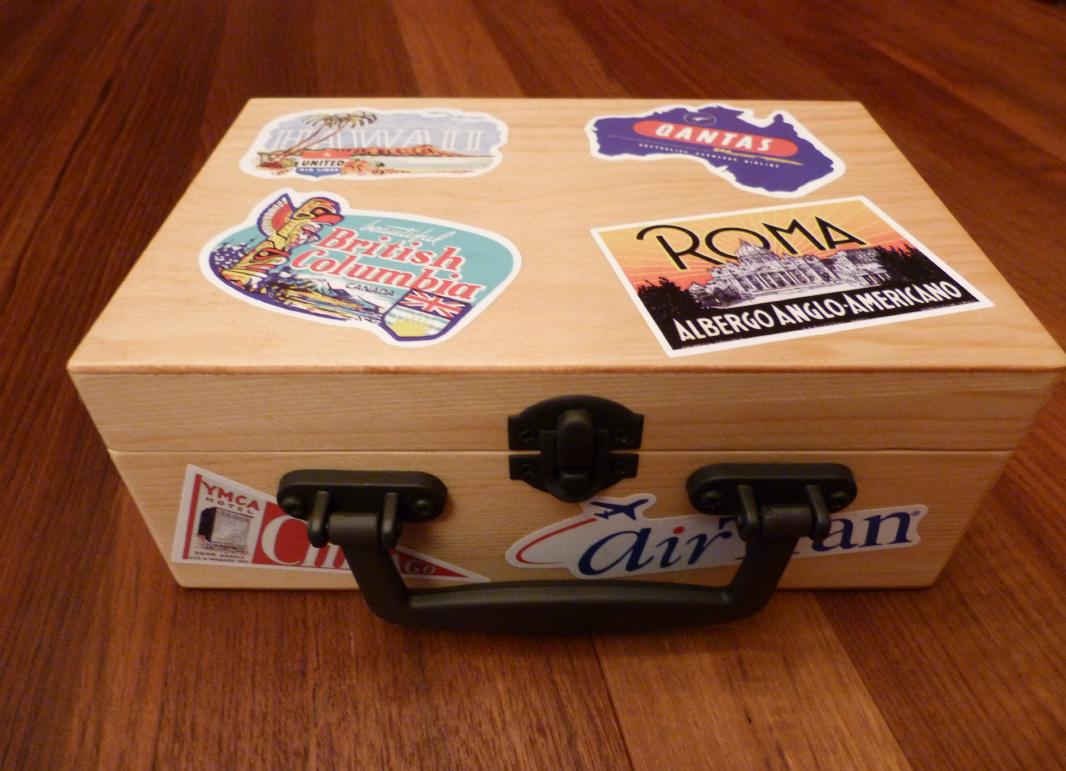
Box with a few vintage looking decals.

Opened up. (Click for detailed photo.)
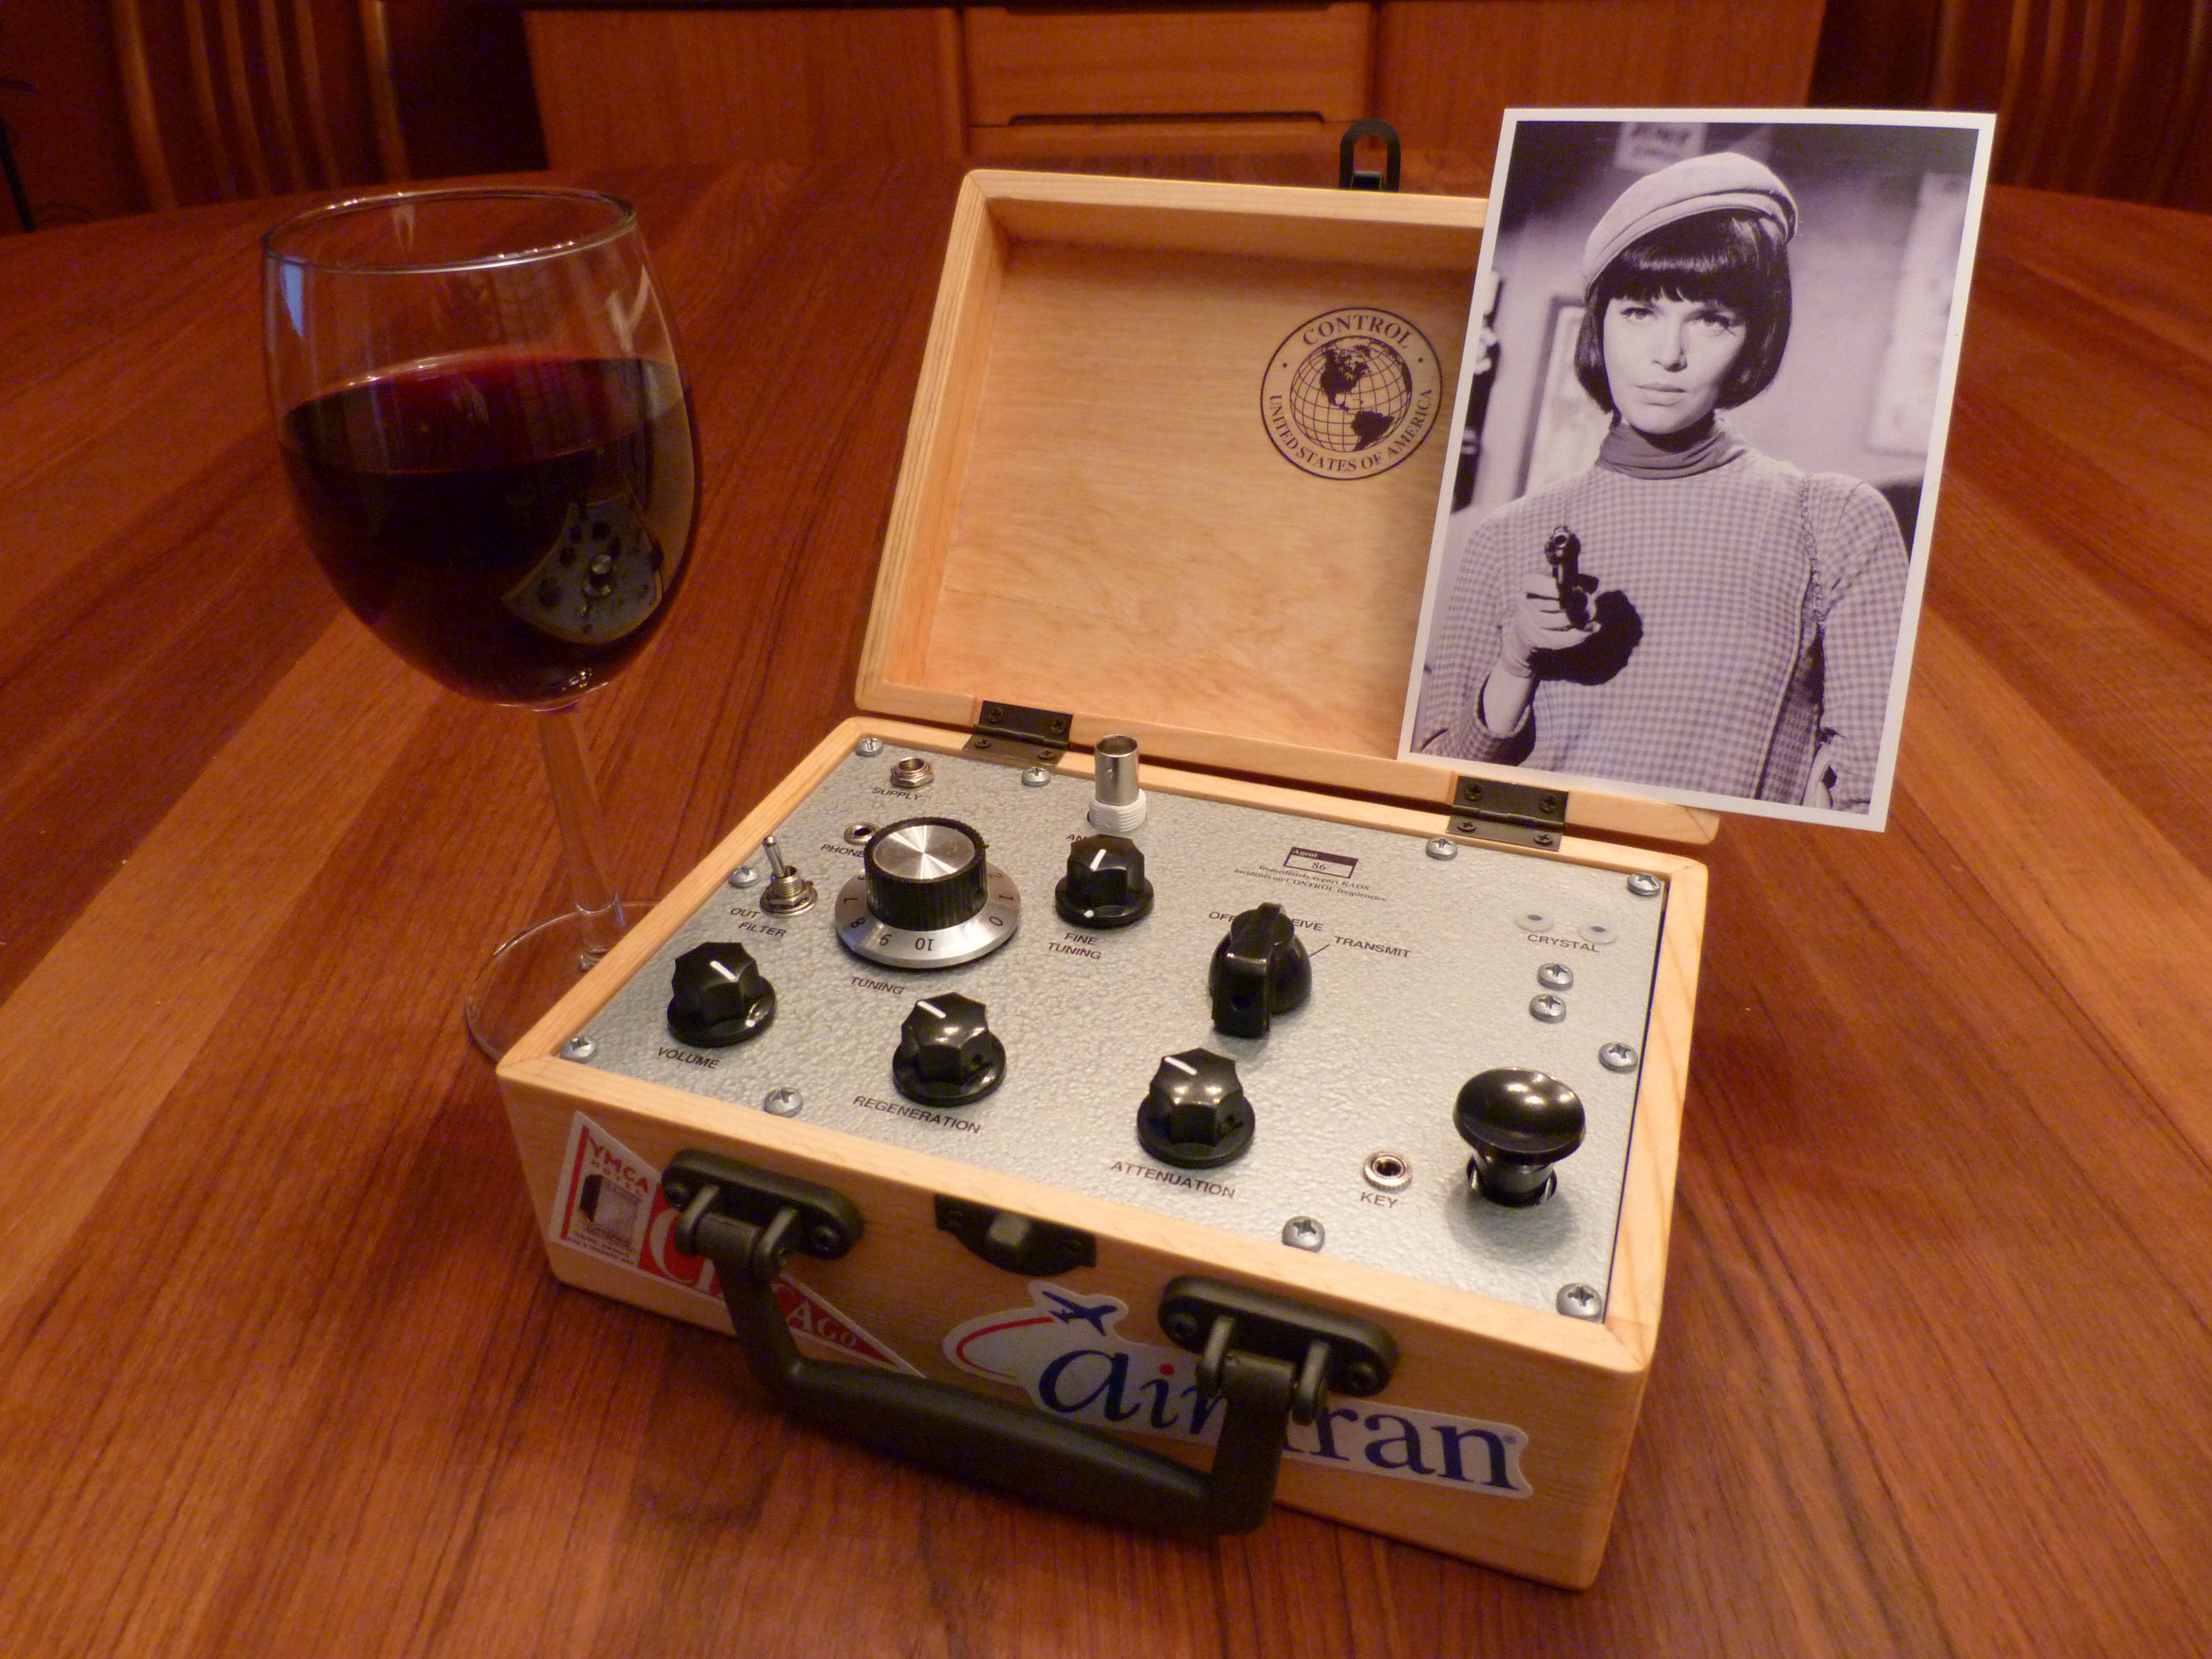
Who's on Agent 86's mind? (Click for detailed photo.)

Diligence, CONTROL Agent 86.
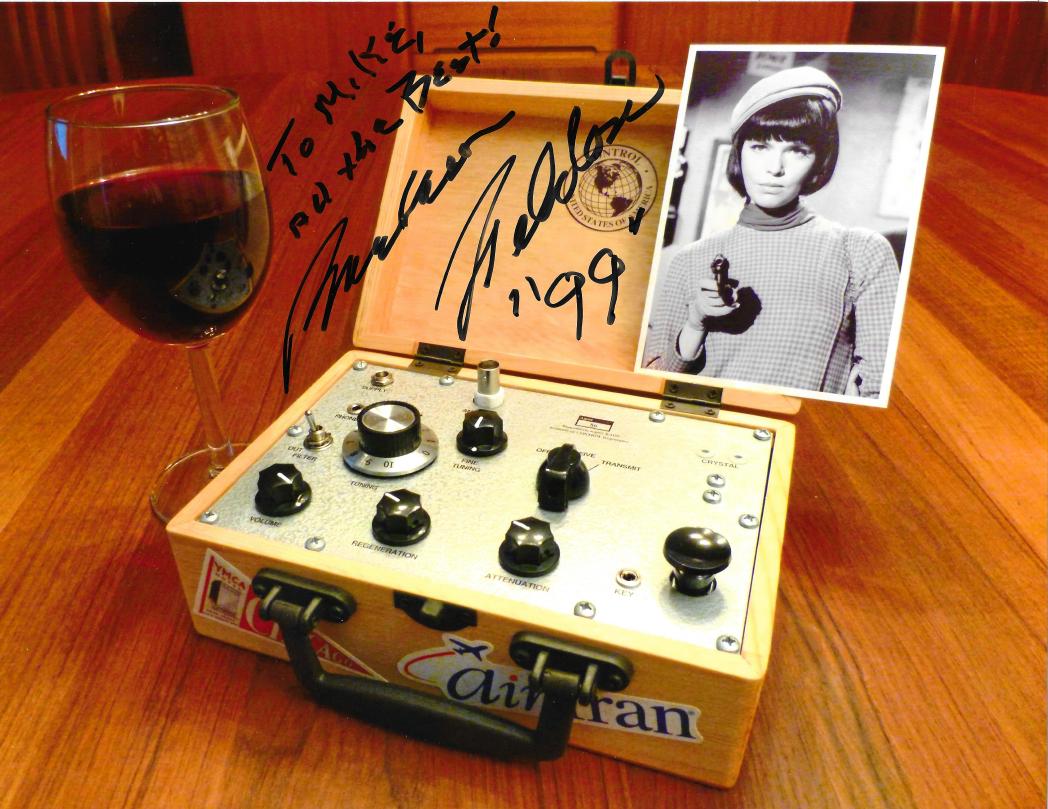
Approval from 99 herself! (The scan is a little washed out.)